


About This Unit

Each Division was allocated a Pioneer Battalion. The 2nd/1st Pioneers initially belonged to the 6th Division but later served in the 7th..
Pioneer Battalions were essentially light military combat engineers organised like the infantry and located at the very forward edge of the battle area. They were used to develop and enhance protection and mobility for supported troops and to deny it to the enemy. They constructed defensive positions, command posts and dugouts, prepared barbed wire defences and on occasion breached those of the enemy using devices like the Bangalore Torpedo.
Their skills and capability were broad from building, construction and maintenance to road and track preparation and maintenance. They could also, and did quite often, fight as infantry.
Although they had existed in the Indian Army before 1914, pioneer battalions were used on a large scale by Commonwealth forces on the Western Front during the First World War. Because of its largely static nature, there was a much heavier reliance on field defences and the provision of mobility support to get people, weapons, ammunition, rations and stores up to the front and casualties out. Roads and railways needed to be built maintained and repaired.
While these were also Engineer tasks, Engineers alone could not meet the heavy demand, while riflemen were always needed at the front. Therefore, Pioneer battalions were raised to meet the needs of both and trained to support both engineers and infantry.
The practice was repeated when the 2nd AIF was raised.
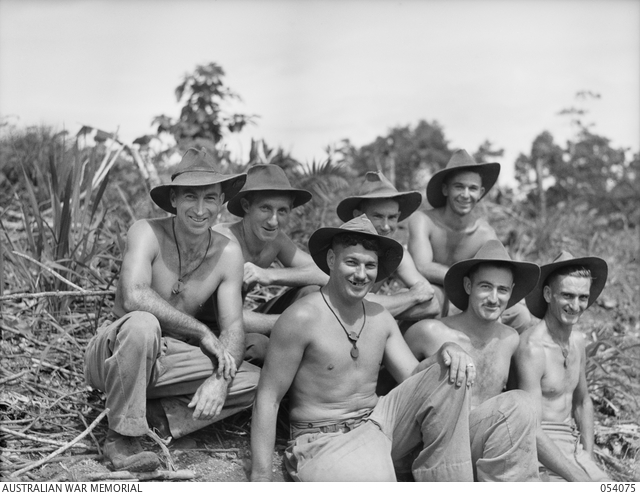
Extract from Australian War Memorial Unit Records link to the right of this page
The 2/1st Pioneer Battalion was raised in Sydney in May 1940. Its men came from around New South Wales and, uniquely, two of its sergeants had served in the 1st Pioneer Battalion during the First World War. In June the battalion moved to the army camp at Greta. After a brief sojourn to Dubbo, at the end of September, it sailed from Sydney as part of a convoy taking I Australian Corps' support units to the Middle East.
The convoy reached Suez on 2 November and the 2/1st travelled by train to Palestine and camped at Julis. In January 1941 it left Palestine and moved to Tobruk where it came under the command of the 6th Division. The battalion immediately helped to restore the port, repair roads, and reclaim engineering material.
Following the Allies advance at the start of February the 2/1st moved forward to maintain the road between Tobruk and Derna. In March the 6th Division was relieved by the newly formed 9th Division, as the 6th was needed in Greece.
The Axis were also reorganising their forces. The Germans had landed at Tripoli, bolstering the Italian force, and were advancing east. Consequently, British troops were forced to evacuate to Benghazi and fall back to Tobruk - colloquially referred to as the "Benghazi handicap". Most of the 2/1st was already stationed between Derna and Tobruk but, to bide more time, a lieutenant from the battalion destroyed the Derna pass after the last Allied unit passed through on 7 April. All pioneers were in Tobruk the next day.
For the next five months the 2/1st helped defend the "fortress" by manning various posts and fighting as infantry. In May it was involved in the bitter fighting in the Salient. Tobruk cost the battalion heavily, with 37 men killed in action and seven mortally wounded. Nine became prisoners of war while another 68 were wounded. As with the rest of the Australian defenders, except the 2/13th Infantry Battalion, the 2/1st was evacuated from Tobruk in September.
After a short time in Palestine, the battalion left the Middle East in early March 1942, as the I Australian Corps returned home. The 2/1st arrived in Australia at the end of the month. After only a few days leave it was sent to conduct engineering tasks in the Brisbane-Ipswich area. At the end of August the battalion went to Papua, arriving on 5 September.
After two days in Port Moresby, A, B, and C Companies moved to Owers' Corner at the base of the Kokoda Trail and up the track through Uberi to Ioribaiwa. The battalion patrolled and manned defensive positions along Imita Ridge. It also helped the 14th Field Regiment move their 25-pounder guns up the track to the foot of Imita Ridge.
More draining work followed when the three companies moved to 9-mile Quarry in November. For the next seven months the pioneers worked as miners and labourers in two plants, producing crushed metal used to surface airfields and roads. Work at the quarry was frustrating and morale was low. At the same time, D Company was in Milne Bay helping to develop the area's infrastructure. They built trestle bridges and maintained roads.
The battalion returned to Australia in October 1943 and, after leave, regrouped at Wongabel on the Atherton Tablelands. Located with the 6th Division the pioneers could concentrate on infantry training. It was with the 7th Division, though, the battalion would again go to war.
Devised towards the end of the war, the OBOE operations aimed to reoccupy areas of the Netherlands East Indies, with the 9th and 7th Divisions making amphibious landings on Borneo in 1945. The 9th Division landed on Tarakan in May, and Labuan Island and Brunei Bay in June; the 7th Division landed at Balikpapan at the start of July.
The 2/1st came ashore at Balikpapan on 1 July, the first day of the battle. After working to consolidate the beachhead, the battalion's next task was to help defend Balikpapan Harbour. Crossing Balikpapan Bay in landing craft, A Company were sent to patrol the Penadjam and Riko Rivers, while B Company went to Tempadung. In August D Company moved out along Milford Highway.
Japan surrendered on 15 August. With the war over the ranks of the 2/1st gradually thinned, as men were discharged or transferred. What was left of the battalion returned to Australia in December and on 18 February 1946 the 2/1st was disbanded.
Compiled by Seve Larkins 2015
We would particularly like to encourage individual historians researchers or members of unit associations to contribute to the development of a more detailed history and photographs pertaining to this unit and its members.
Please contact [email protected] (mailto:[email protected]) for details on how to contribute


Click images to start slideshow.