


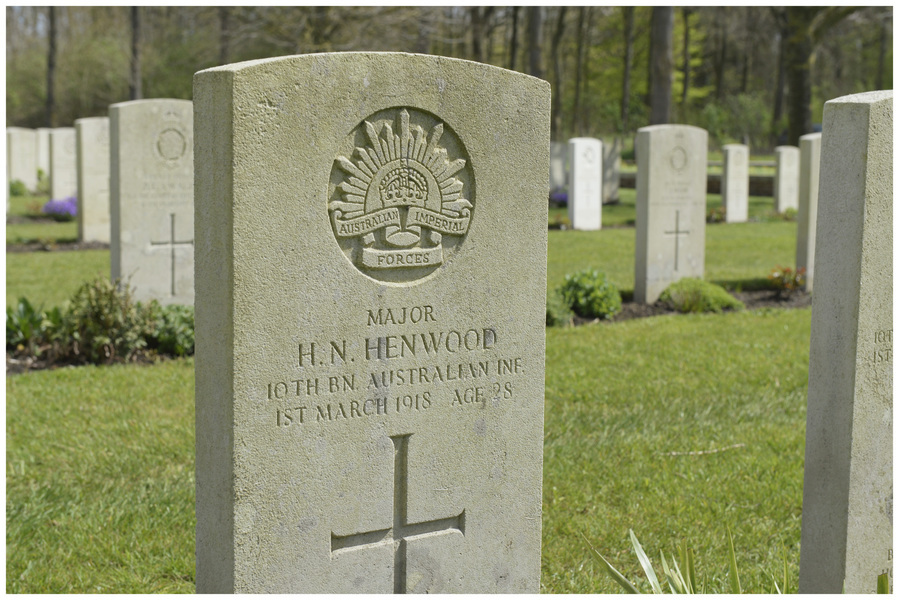
HENWOOD, Horace Norman
| Service Number: | 320 |
|---|---|
| Enlisted: | 19 August 1914 |
| Last Rank: | Major |
| Last Unit: | 10th Infantry Battalion |
| Born: | Hindmarsh, South Austalia, Australia , 19 May 1889 |
| Home Town: | Goodwood, Unley, South Australia |
| Schooling: | Hindmarsh Public School & Adelaide High School, South Austalia |
| Occupation: | Clerk |
| Died: | Killed In Action, Belgium, 1 March 1918, aged 28 years |
| Cemetery: |
Spoilbank Cemetery, Zillebeke, Belgium II.D.9 |
| Memorials: | Adelaide High School Great War Honour Board, Adelaide High School The Fallen, Adelaide Holy Trinity Church WW1 Honour Board 1, Adelaide South Australian Education Department Roll of Honour, Australian War Memorial Roll of Honour, Myrtle Bank War Memorial, The South Australian National War Memorial, Unley Town Hall WW1 Honour Board |
World War 1 Service
| 19 Aug 1914: | Enlisted AIF WW1, Sergeant, 320, 10th Infantry Battalion | |
|---|---|---|
| 20 Oct 1914: |
Involvement
AIF WW1, Sergeant, 320, 10th Infantry Battalion, Enlistment/Embarkation WW1, --- :embarkation_roll: roll_number: '10' embarkation_place: Adelaide embarkation_ship: HMAT Ascanius embarkation_ship_number: A11 public_note: '' |
|
| 20 Oct 1914: | Embarked AIF WW1, Sergeant, 320, 10th Infantry Battalion, HMAT Ascanius, Adelaide | |
| 25 Apr 1915: | Involvement AIF WW1, Sergeant, 320, 10th Infantry Battalion, ANZAC / Gallipoli | |
| 7 May 1915: | Promoted AIF WW1, Second Lieutenant, 10th Infantry Battalion | |
| 9 Nov 1915: | Promoted AIF WW1, Lieutenant, 10th Infantry Battalion | |
| 16 Apr 1916: | Promoted AIF WW1, Captain, 10th Infantry Battalion | |
| 13 Nov 1916: | Honoured Mention in Dispatches, For consistent good work as Brigade Intelligence Officer, including continuous work under fire, April-September 1916. | |
| 19 Sep 1917: | Promoted AIF WW1, Major, 10th Infantry Battalion | |
| 20 Sep 1917: | Wounded AIF WW1, Major, 10th Infantry Battalion, Polygon Wood, GSW thigh | |
| 1 Mar 1918: | Involvement AIF WW1, Major, 10th Infantry Battalion, --- :awm_ww1_roll_of_honour_import: awm_service_number: awm_unit: 10 Battalion awm_rank: Major awm_died_date: 1918-03-01 |
CAPTURED - (by Company Sergeant Major Andrew Steward Duncan 10th Battalion)
Hollebeke, Flanders. 1 March 1918. CSM A.S. Duncan missing presumed captured.
The night was very dark; conditions “very favourable to the enemy”.
At 9:49pm D Company came under heavy shelling. During the barrage a German raiding party of an estimated 133 men advanced through No Man’s Land and crossed the battalion’s front line.
Andy was at D Company Headquarters when the barrage began. In 1919 he recalled
Our position was a succession of improved shell holes. This was the Company front. Coy Headquarters was in an old pill-box which was practically in front of what constituted our front line. We had all our posts out. It was practically while we were in the process of taking over from the 13th, that the enemy raided us in force. I was at Coy. Hdqrs., where also were a Captain of the 13th Battalion my O.C., Major Henwood, and one signaller. The enemy put up a heavy barrage on the Company front with ‘pineapples’ and minenwerfers. A runner came in and told us that the enemy were making an attack. My O.C. gave instructions for the S.O.S. to be fired. I fired it at about 10.30 or 11pm. Just as our own artillery barrage opened up, the Germans reached Coy. Hdqrs. A man appeared at the door of Coy Hdqrs and called on us to surrender. Major Henwood shot him. This man it ultimately appeared was the officer in charge of the raiders. Immediately a number of bombs landed in the pill-box. They put the lights out and wounded one man. The enemy immediately after the throwing of bombs, appeared in force around the pill-box. We were compelled to come out. Our officers agreed that as things were we had no chance.
Captured were Major H.N. Henwood, Sergeant Major A.S. Duncan, Private P.M. Berthelsen, Private W.B. Crispe, Private S.T. Noble, Private W.S. Bell, Private Thomas and Private R. Daley. Major Henwood was killed during the raid, although accounts of what happened differed widely. Andy recalled that, after the Australians came out of the pill-box
Our barrage was still on and Major Henwood was just outside the pill-box and while I was talking to him, was killed. That is, he was killed as far as I could tell.
The Germans moved us away from the neighbourhood of the pill-box into a shell hole. There were 7 of us, 4 of whom were wounded, one very badly. In the shell hole a German orderly dressed the wounded men, using our own first field dressings. The Germans were apparently waiting for our barrage to lift.
Eventually the Germans and their prisoners moved to No Man’s Land, heading back to the German lines. Suddenly flares lit up the area and a shell exploded in their midst. CSM Duncan, Private Crispe and Private Thomas received minor shrapnel wounds. In the confusion, Private Daley, Private Thomas and Private Bell managed to escape.
Andy was taken back to the German lines and separated from the other men.
I was kept for about an hour in the enemy trenches, the others being sent away. I was subjected to a vigorous cross-examination concerning our lines and dispositions. Straightway from the line I was marched to Ingelmunster. There I saw the three unwounded men who had been captured with me. At Ingelmunster I was again interrogated before being removed to Courtrai [Kortrijk]. I was here for about 17 days, kept in a cell, being daily interrogated.
Perhaps it was at Ingelmunster that Andy shared a cell with a German spy. The spy claimed to be a fellow Australian, but Andy saw through him: “I fed him a lot of bullshit”.
Ingelmunster was a collecting and interrogation station for recently captured prisoners, but for some reason the Germans did not process him as a prisoner of war. Andy became concerned about his captors’ motives for moving him to Courtrai.
Family stories that have been handed down probably relate to the Courtrai interrogations:
The Germans took Andy to a deserted farm house where he was held alone and interrogated for some time. During interrogation he was made to stand barefoot. A German soldier held a rifle by the barrel, the rifle stock hovering a distance above Andy’s toes. Andy would be asked a question. If his response was unsatisfactory, the rifle stock would be dropped and smash his toes. The interrogation left Andy with crushed, mangled toes and no toenails for the rest of his life.
Andy believed that his captors had no intention of taking him to a P.O.W. camp; rather they were planning to kill him once the interrogation was finished. This would be a simple matter for the Germans, as Andy was not yet officially registered as a Prisoner of War and no-one knew where he was.
Andy looked for some way to improve his situation. He knew that a railway line ran by the farm house and that trains passed regularly. He asked his guards to let him exercise in the farmyard once a day. He hoped that if he could get himself noticed by passengers on a passing train, someone might question why a solitary Australian soldier was walking around a Belgian farm behind the lines and not in a P.O.W. camp.
He was permitted to exercise outside and as luck would have it a Red Cross worker travelling by train did notice him and made enquiries. Soon after Andy was sent to a P.O.W. camp.
Writing of Australian soldiers captured on the Somme, a German officer observed
"a few prisoners who had already fought on Gallipoli were of good military bearing, although the majority, who had arrived as reinforcements, left a rather lamentable impression".
Submitted 12 April 2015
Biography contributed by St Ignatius' College
Before world war one, Horace went to Hindmarsh Public School and Adelaide High School. His job was a clerk and he was born on 19 May 1889. He was a member of the Church of England and he lived in Goodwood along with his wife Mrs Frieda Martha Christina.
When Horace Norman Henwood first joined the war, his service number was 320, he joined the war on the 19th of August 1914. Horace embarked with the 10th battalion from October 20, 1914 departing from Adelaide. He was 25 years old when he left to join the war aboard the Transport A11 Ascanius as a sergeant. He was later comissioned as a Lieutenant, eventually rising to Major.
Henwood showed loyalty towards the ANZAC Spirit by participating in the war. He left his family to serve as a soldier of the 10th Battalion and he showed mateship through his respect to the fallen soldiers whose graves he dug, as he endured the pain and suffering that the war had put against him.
Sergeant Henwood landed at Gallipoli with the 10th Battalion on 25 April 1915, He was commissioned in the field as a Second Lieutenant on 7 May and was evacuated off the peninsula with dysentery on 7 July. On 16 August he returned, rising to be Lieutenant on 9 November 1915.
After the evacuation, the 10th Battalion was eventually sent to France and Belgium and it was here that Henwood received his first injury: not in action, but due to falling from his horse while on leave in October 1916. He was injured in the knee, arm and hip but returned to duty soon after. His job in these months was Brigade Intelligence Officer, and he was Mentioned in Despatches for "consistent good work", including "continuous work under fire".
In January 1917 he was sent for training as a staff officer, and rejoined the 10th Battalion on 4 June 1917. Henwood was promoted Major on 19 September 1917 but this proved to be unlucky, as he was wounded in action (in the thigh) at Polygon Wood on the 20th. He was transferred to hospital in England and returned to duty in November. Henwood's last period away from duty was leave over the New Year, which he spent in England.
Henwood was killed in action on 1 March 1918, at Hollebeke in Belgium. He was in command of D Company while the 10th Battalion was relieving another unit in the line. The Germans raided at that moment, and Henwood was taken prisoner along with some others. While being taken across No Man's Land to the German lines, he was killed. Red Cross informants disagree how: some say he was shot while escaping, others that he and his captor were killed by a shell. His body was recovered and is buried at Spoilbank Military Cemetery, near Ypres.
Biography contributed
From Adelaide High School Magazine, Michaelmas, 1914, p 7-9
Sergt. Horace N. Henwood was one of the early Exhibitioners at the P.T.S. [Pupil Teacher School]. He
enrolled at the school in January 1903. Later he entered the Civil Service. Mr. Henwood was
for a long time Secretary of the Exhibitioners’ Old Scholars’ Association, and had been
appointed to the position of auditor in the present Association for the current year.


Click images to start slideshow.